For various reasons, it has been awhile since I have built a high end gaming system. My last build was Core I7-4770 which is no slouch, but by today’s standards lagged a bit behind in key areas, most notably support for NVMe and higher speed storage. I set out to buy the best hardware I could get within a budget and build up a new Core I7-7700K. My goal was to keep it between $1500-$2000 without the video card (as I already had that). I had some very specific requirements I was trying to achieve which sound simple, but trying to get all for a decent price was going to be a challenge.
Requirements
- System/CPU had to run cool. I wanted the best CPU cooling I could get without the use of a custom water cooler. In addition, I wanted good air flow to keep the overall system to very cool.
- Quiet. It had to be very, very quiet. My goal was to be virtually silent.
- Speed. It goes without saying I wanted speed in preparation of running VR and to satisfy my craving for performance.
- Case/Lighting. I wanted to experiment and get on the RGB bandwagon. Though not a need, I wanted to see how effective it was in the aesthetics. I also wanted a good looking and very functional case.
- Drive performance. This was one of most important as I wanted a system that would support M.2 NVMe drives. I wanted maximum throughput from my SSD as I always believe that drive performance has always a bottleneck.
The Build
I wont go into all the various options I considered but rather get to the point of what I selected and why. I will say that I considered heavily which platform I was going to use, and came very close to going with an AMD Ryzen for the type of general purpose workload that I do. In the end, the AMD platform is still a little immature and potentially a bit unstable. I will be gutting my 4770 and dropping in the Ryzen and new motherboard very soon so I opted to stay with the Intel platform for my main build.
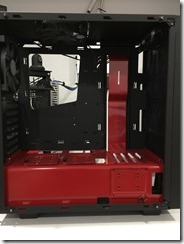
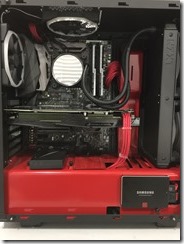
- Case – I selected the NZXT Elite S340 (Red/Black edition). For about $110, it offers a great look, room for all in one water coolers, and great cable management. Add the extra touch of tempered glass and you have a real looker on your hands that is very easy to build in. Though the quality of case visually is stunning, seasoned builders will notice where they cut corners to save on cost. Truth be told it is still an awesome case and as an added bonus, it has a front mounted HDMI port that routes to your VR ready video card to the front so that you can quickly attach your VR headset.
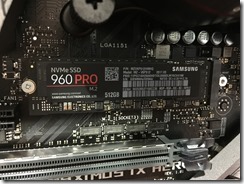
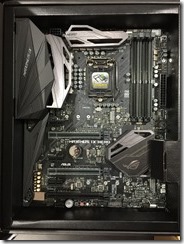
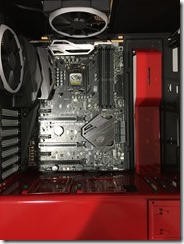
- Motherboard – I chose the Asus ROG Maximus IX Hero as I have an earlier version of the Hero in my 4770 and it was the best board I had ever run. It supported NVMe, RGB, USB 3.1, Thunderbolt, DDR4 4133+, and was running the latest Z270 Intel chipset.
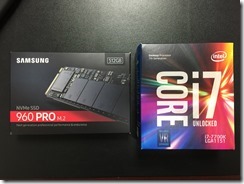
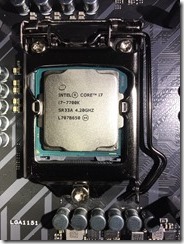
- CPU – I struggled with this for along time as I do not want to overclock. I struggled with getting the standard I7-7700 or go for the unlocked version and get the 7700K. In the end, the extra base clock and turbo boost head room made the choice a little easier and I settled on the 7700K even though I was not going to overclock at this time.
- Memory – Having been plagued with memory issues in earlier builds, I wanted to buy fast memory so I would have some wiggle room especially if I add another set later on. Of course, I was also attracted to the new lighted modules to go with the RGB theme I was after. After doing much research, I ended with the Trident 3200 CAS 14 which was fast, low latency, and the lighting was supported the Asus Aura software allowing me to control it, the graphics card, and the motherboard lighting all from the same software.
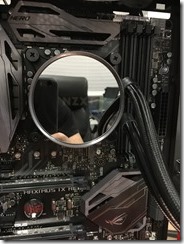
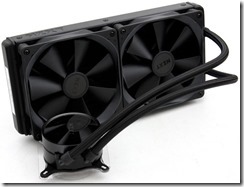
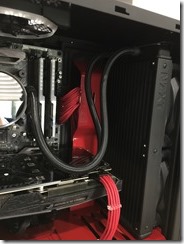
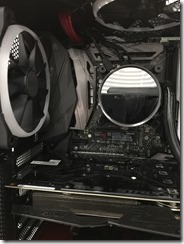
- CPU Cooler – This was another area I struggled with. The decision was difficult as originally I wanted to use an air cooler but decided that if I was going to use the core I7-7700K. it might be better suited using an all in one cooler. Research showed that the core I7-7700K can run very hot when it is pushed so I opted for an all in one cooling solution. After looking around at the various options, giving consideration to both esthetics, noise, and performance, I ended up buying the NZXT Kraken X62.
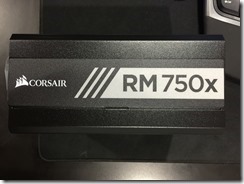
- Power Supply/Custom Cables – This time for my build I used the Corsair RM750X. There are many good power supplies out there but I used this one as it was fully modular and is one of a handful of power supplies that is supported by Cablemod with custom built cable sets which I wanted for this build.
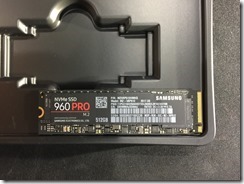
- SSD – There was only one clear choice for me here and that was the Samsung 960 Pro. Have been a fan of the Samsung Pro line for quite some time and the shear performance of this NVMe drive is insanely fast for a consumer level drive.
- Fans – This is always a area that gets overlooked. Since noise is one of my primary concerns, I planned on replacing the radiator fans with Noctua fans on the NZXT X62 as I was afraid they would be too loud for my taste. Fortunately, the NZXT fans are dead silent in low speed mode and I ended up sending the Noctua fans back and keeping the stock fans. I also installed the NZXT AER 120 RGB fans which I used for exhaust (back and top). I wanted the internal fans to be part of the RGB lighting that I had planned and the kit came with a Hue+ lighting controller which would allow me to add additional lighting in the future.
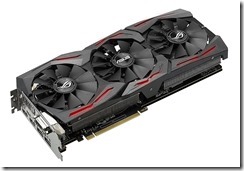
- Graphics card – I had purchase this a couple of months ago and was running it in my 4770. As it was originally bought with the new system in mind it made sense to port this to the new build. The card I chose was the Asus GTX 1060 Overclocked version. This card has great performance, runs fanless until the temperature rises, and is a great value overall. The card comes with 6 Gb of DDR5 which truly helps when driving dual monitors.
The Components
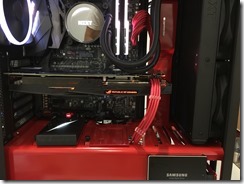
The completed build
Summary
To say that I am pleased with this build would be an understatement. The aesthetics, the speed, the ultra quiet operation, the speed, the lighting, and yes, the speed. You expect any one of the components to give you great performance but together they make the system sing. This is the first time I have been blown away by a system in terms of looks and performance. It is often difficult to see incremental gains of things like CPU upgrades but add to this faster memory, an NVMe drive with its raw performance, and you will definitely tell the difference.
Is everything perfect? Of course not. They are several that could be improved. First off is the buggy software that comes with Kraken X62. I wont list all that is wrong with it but lets say I am looking for the next patch. Though I love this case, you have to be very careful as the matted finish is fingerprint resistant but can scratch easy. The X62 is a great piece of hardware but unfortunately it has to remain plugged in to USB to fully use it and it is plagued with buggy software. Not a show stopper but an annoyance. Overall this has been a great build experience and I would not hesitate to recommend any of these components to anyone looking to upgrade.


[…] Core I7-7700K build […]