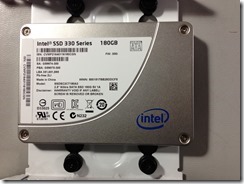
Those who have installed their OS on an SSD know the difference it can make on how your machine performs. It can make your system run better than when you first got it and breathe some new life into it. As I migrated to VM’s for some of my daily tasks, I found that the performance was a bit sluggish especially as I became more and more reliant on their use. It made me miss the performance of the SSD that I had on my physical machines.
My challenge was to get back the performance I was getting on my physical machine with an SSD, and still retain the functionality of using a VM. As a normal rule, you want use a fast drive to store your VMs as drive performance and RAM are extremely important in a VM environment. Some people utilize a RAID 0 configuration which greatly affects the performance of your VMs, but my quest was to see if I could effectively and efficiently use an SSD to speed up the performance of the VMs that I rely on each day.
Challenges and Strategy
Before you can determine whether or not this make sense, you have to ask yourself a few questions and understand how VM’s use storage. In Hyper-V, there are basically 4 storage parameters you can control.
Storage Configuration for VM’s
- The location of where the VM configuration is stored (Not much space is required for this and averages around 5 gigs).
- The location of the paging files (varies based on memory you allocated)
- The location of the Snapshots (backup) files (this can grow significantly and should not be stored on the SSD)
- The location of the VHDX (Virtual drive). This can also be significant but if you configure correctly this is where you will get the gain.
Steps
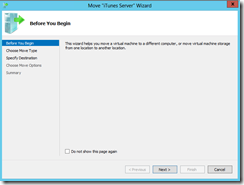
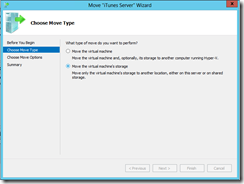
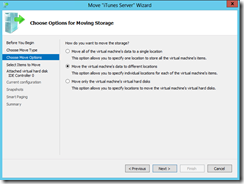
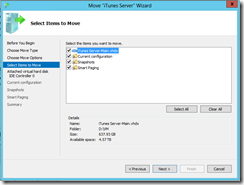
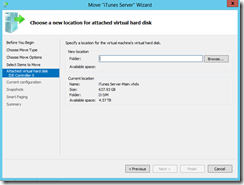
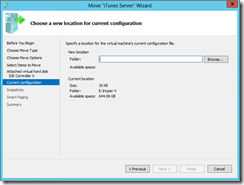
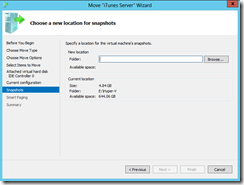
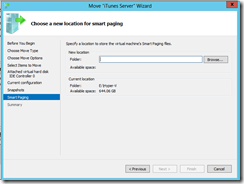
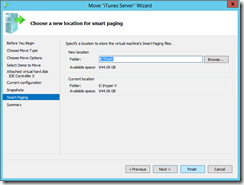
The first thing is to actually install and test your SSD to make sure it is working and configured the way you want. In addition, you may want to disable the recycle bin to conserve on space since you will mainly be using this drive for VM’s. This walk through is based on moving an existing VM, however you can easily use the same concept when creating new VM’s. Since I like to test and experiment first, I usually install the VM on a physical drive and once I am happy with the final configuration, I “move” it to the SSD. This way I can start with several versions of it without concerns of running out of space, then finally move over the configuration that I actually want. Here are the basic steps in “moving” your VM. Notice as I step through that I am using two different drives, the SSD, and a mechanical drive for the snapshots. I also use the mechanical drive for testing VM’s where performance is not a concern.
Memory Usage
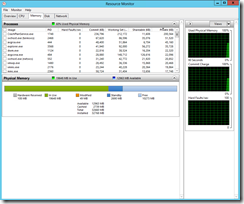
As you can see from the memory map below, I have allocated more than enough memory and I am using up about 20 gigs of RAM on VMs. It is probably an overkill but I am looking to get the maximum performance.
Other Related Articles
https://thedocsworld.net/installing-hyper-v-and-creating-a-vm-in-windows-8/
https://thedocsworld.net/going-from-physical-to-virtual-machines-at-home/


