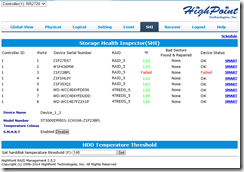
Though I have been switching to primarily NAS units for my everyday central storage needs and have used WD Red Drives in those units, I still have one non-VM server left that I use for local backup and movie archiving. The server has been running great for many years but recently I had yet another drive fail. I decided it was time to replace my aging Seagate drives with some new WD Red Drives before I had any further problems. I have already had two other drive failures in the past 1-1.5 years so it was time to take some action.
Click here to see the original server as it was built
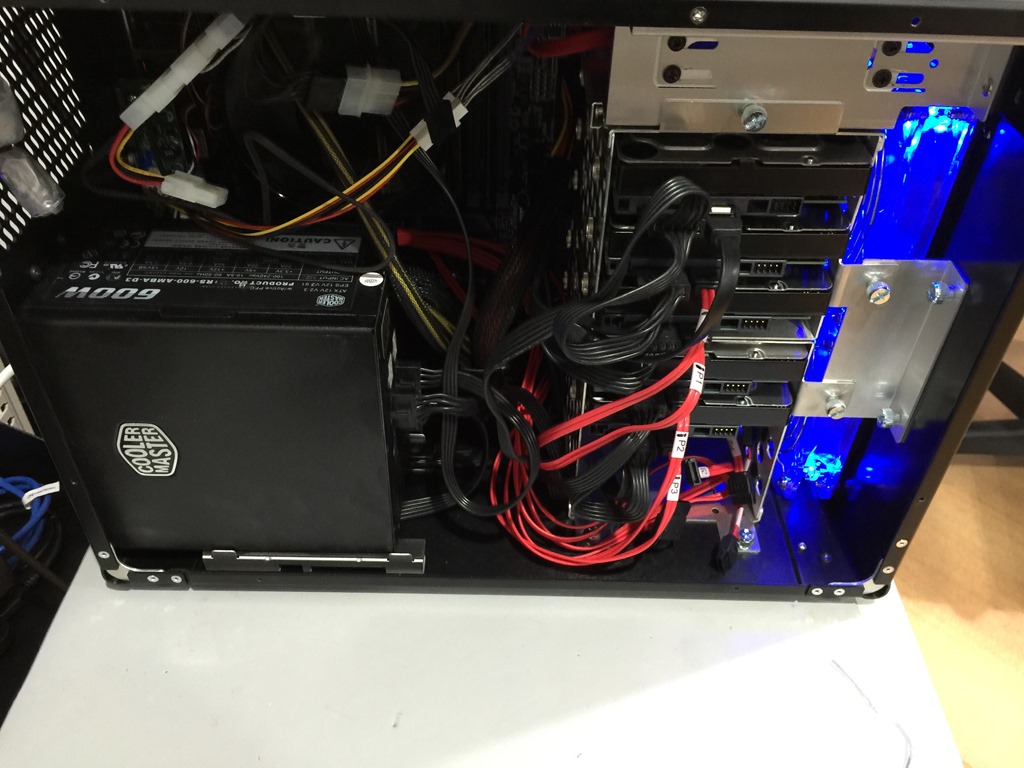
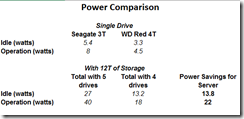
I decided to not tempt fate and replace the Seagate drives I had in the server with some Western Digital Red drives. In addition to replacing the drives with fresh ones, I wanted to reduce the power consumption, reduce heat, and provide additional expansion by using fewer larger and more efficient drives. This is a small Lian Li case that holds a total of 8 drives including the DVD slot which I am using to house an SSD for the OS. Subtract one drive slot for the OS, and one for the backup drive and I am left with space for 6 actual data drives. What I really wanted was to use 3 of the new 6T Red drives but the price was still a bit too high, so I opted to use 4 x 4T WD Red drives. This would give me the same 12T of space as when I started (5 x 3T) with less drives and provide room to expand out an additional 8T in the future for a total of 20T should I need it.
Challenges
If you are using a standard 1 or 2 drive configuration, it is fairly easy to upgrade your storage. When you have a large RAID 5 setup it is a little more challenging. You have several options, first if you are keeping the same size drives you can replace one drive at a time with a different drive and let the array rebuild itself. You can simply repeat the process for each of the drives until you have replaced them all. Fairly easy to do and no downtime other than when you power off the server to install the next drive. You can also do this using larger capacity drives and do basically the same if you wanted to increase the capacity of the array, however you will not be able to use the extra space until you have completely replaced all the drives and then expand the array to claim the extra space. During the process the larger drive will format to the same size as the other drives in your array. This will be a slow process but again you will not have any down time as the RAID rebuilds in the background and you will not really notice the performance unless you are in extreme conditions. Another option is to copy everything off of it, replace the array with your larger drives, and copy everything back on it. This much faster but is much more disruptive, requires much intervention on your part, and assumes you have something large enough to copy all your data to.
Part 1
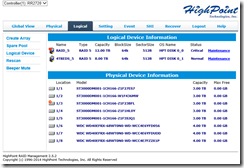
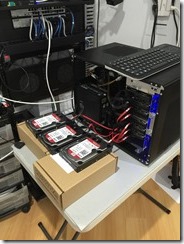
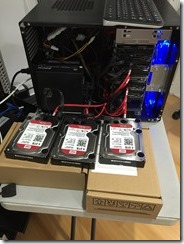
The option I choose was a combination of both. Since my controller card supports 8 drives and I only had 5 attached in the original RAID, there was enough ports left over for me to attach 3 of the 4 new drives (minimum needed) and create an initial RAID 5. Once the new array was created with the new 4T drives, I was able to copy things over from the old volume to the new one. Since the copy was done from RAID to RAID on the same controller, the copying process was fairly quick. Once the copying was done, I simply deleted the old array and pulled the old drives which freed up my ports.
Part 2
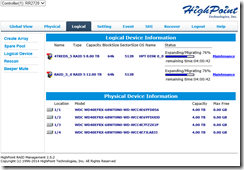
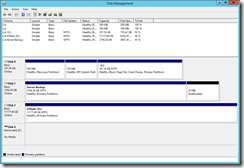
Now that the copying was completed, I mounted the drives in case including the 4th drive which had not yet been added to the array. Now that the old drives were removed, I had more than enough room and controller ports to complete this task and be ready for future expansion. As the RAID array is not sensitive to which drive controller cable it is attached to, I was able to simply install the new drives, move the cables back so they would be in sequence (I like things in order), and run the expansion module to expand the array to make use of the fourth drive giving me a total of 12T of usable space. Even though I ended up with the same amount of space as when I started, I no longer have a failed drive, had fresh more efficient drives, and now use one less drive which leaves me 2 free slots for future expansion. Add to this the fact that each drive runs 8-10 degrees cooler and draws much less power, and you have a great winning combo that should last me well into the future.
Next Steps
Now that I have completed the new array, it is time for some serious digital clean up. We all get a bit lazy when it comes to data and I know I have many duplicated files, old backups, and tons of old software I will never use. I gained back over a terabyte once I clean up everything. I feel better that I am running fresh drives designed for this type of application and no longer feel like I had a shelf life on my data.
Summary
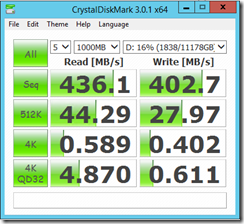
There has been much controversy on the Seagate drives (especially the 3T) as a result of the Backblaze articles, but for me I felt that they were overall good drives. Considering that I have had more than 25+ at any given time, I did not worry much about losing a couple of drives over that period of time. Given my recent failure and the age of the drives (about 5 years of 24/7), the writing was on the wall and it forced me to do what I really wanted to do anyway. 3 failures over the span of my server is just too high and in all probability it would get worse. As I have written many times, the benefit of running a RAID 5 is unsurpassed at least in my mind. It allows me a robust redundancy that protects my up time and helps me protect my data. True RAID 5 is not a backup and no matter how great the drives are they can still fail. But for time being I am enjoying the cool/quiet running drives with great performance and hopefully a little peace of mind.

