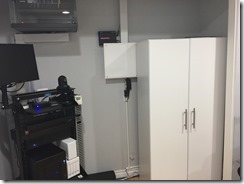
I know doing a network make over is not a very interesting topic but it can be an important one. At some point, keeping our network organized becomes a necessity. Either because of troubleshooting, esthetics, or because we need to expand. In almost every case, it sounds easy but when you get started you find it is a long and laborious process that always takes 4 times longer than it should, and quite often can be a substantial investment in equipment and cable management.
In my particular case, the need for doing a make over was two fold. First I needed to make additional room for equipment on my rack, and second, I wanted to improve the aesthetics of the overall area as the mess was getting to me.
Project Goal
In my case, I had several goals for this project that I wanted to accomplish. As it will impact the equipment you select and items you buy, it is important to list what you are trying to accomplish and a basic plan before you dig into it. My goals were pretty basic:
- Create more room for additional equipment
- Eliminate cable clutter on rack
- Create room that would allow the installation of a closet door in the future
- Identify/label each cable run to facilitate troubleshooting as well as expansion
- Provide an easier access to frequently used equipment
- Improve the overall aesthetics by getting everything off the floor
Items Used
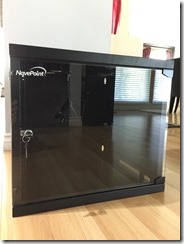
- Wall mounted Rack ($129.99)
- 3 x 1U Panels ($11.93 each)
- Panel wire management.
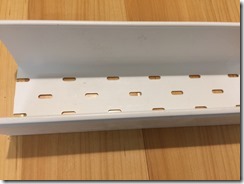
- Cable Ducting (2 x 5’ ducts, $22.21 each)
- Power Strip Organizer ($24.99)
- 1U Shelf ($24.99)
- Supply Cabinet ($109.99)
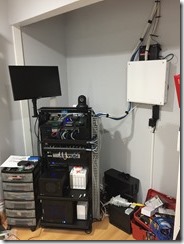
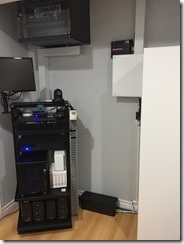
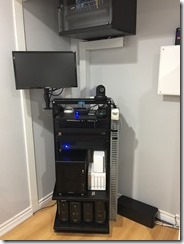
As you can see from the setup below, things are very cluttered and access to the equipment on the rack is challenging. All the cables run from the ceiling to the rack and video distribution box. In addition to the clutter, all the UPS devices are on the floor.
In Process
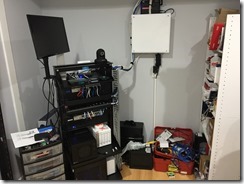
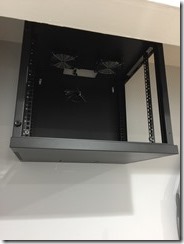
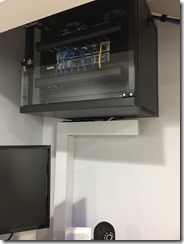
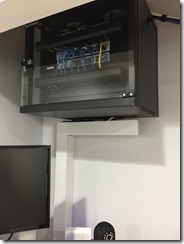
I added a few items to clean things up such as a new wall mounted rack, cable ducting, cable boxes, and miscellaneous panels for cable management. The addition of the wall mounted rack was instrumental in moving all the cable connections away from the main rack.
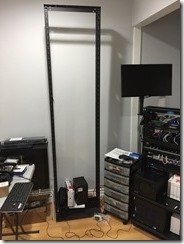
This what things looked like during the update. I had to put up with several days of this mess.
The Project
The Top Rack
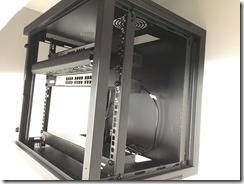
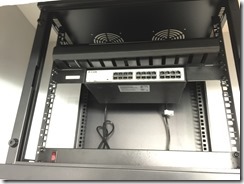
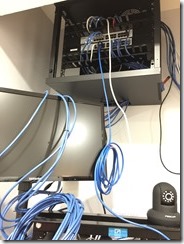
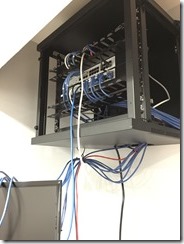
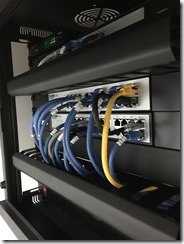
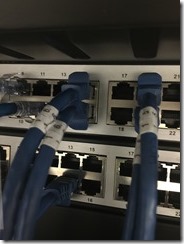
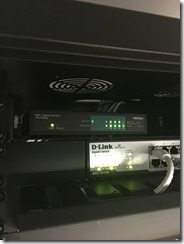
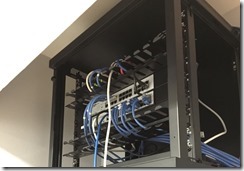
I moved 3 of the 24 port switches into the top wall mounted rack. Two for the main network and 1 for an isolated network. I strapped together patch cables that are using NIC teaming so I could easily identify which group of patch cords belong together (picture below shows a pair identified 16 and 15 which are both teamed). I also numbered/color coded all the patch cables so I would know where they go in the event of a problem. With this setup not only was everything organized but I also have 2U of extra space should I need further expansion. In addition to moving all the switches, I also was able to install a top shelf to locate my PoE+ switch.
The Bottom Rack
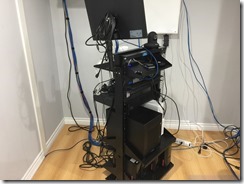
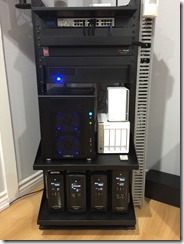
Since all the switches were moved from the bottom rack, I was left with 3U of extra space even after moving all 4 UPS units off the floor and into the rack which makes it easier to spin it around and service the back. The UPS support is connected to (left to right) as follows:
- VM Server which in an adjacent closet
- IOT devices such as the switches, ISY and Kevo (and much more)
- Modem and my Sophos Router
- NAS (QNAP and Synology) and my Media Server
Cable Management
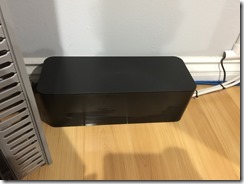
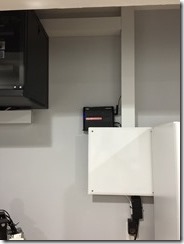
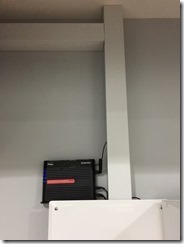
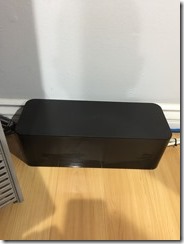
This is where I spent most of my time. Moving the cabling to the top rack required a significant amount of work not to mention a few new cable runs. Installing the wire ducting made the task much easier and will make it extremely simple to add or remove future runs. To clean things up further, I used one of the power strip boxes which makes things look cleaner when you are forced to use power strips.
The Completed Project
Summary
After far more time and money than I imagined it would take, I am very pleased with the results. It was definitely well worth the effort. It is now far less cluttered, easier to service, and I now have all the cables numbered or color coded which makes it easier to make changes or fix problems. Over the past couple of years, I have moved away from some of the rack mounted servers which gave me the ability to move a couple of the servers/systems to other rooms to help balance the heat load. For example, my VM server and my security system have been moved to other rooms which again helps keep things a little simpler. Moving all the switching and cabling to the top rack gave me more room for new equipment, made it easier to service, and look much better. Putting in a long service loop on all the cabling and having all the UPS on the rack makes it very simple to spin the rack around to get to the back (with the help of large felt pads on the bottom of the rack) and pull equipment out or temporarily disconnect it. Though it is not pictured that way yet, a minor rotation of the rack and the remounting of the monitor will allow me to fully enclose this behind the closet sliding door that I will be installing in the next phase of this project.


