As part of my continual migration into virtual machines, I have slowly moved all of my running tasks to the VMs I created (see my earlier article for more information). One of the recent tasks that I ported over was the Eye-Fi Center which is the software used to control your Eye-Fi SD card. It automatically downloads images from the Eye-Fi SD card to your computer. I had again attempted to use this in both ESXi and an earlier version of Hyper-V with limited success. In my earlier attempts, I was not able to get a consistent communication from the VM/Eye-Fi Card/and Eye-Fi Center therefore pictures would not always get transferred and often required manual intervention . For those who are not familiar with it, I included a quick summary of the hardware an software used in the process. Though this is more about the migration to VMs, the Eye-Fi hardware/software is actually very good. I have been using one in my camera for about 2 years and have come to rely on it almost on a daily basis as this is attached to the camera I use for shooting all the hardware I work with.
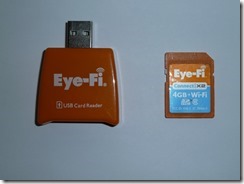
The Hardware
The concept is pretty simple, embedded in what appears to be a regular SD Card, is a Wi-Fi transmitter. It comes with a USB adapter that you use for the initial setup to your home Wi-Fi. You plug the card in and run the setup to program to configure the card to work with your Wi-Fi network, as well as to configure the default values such as storage locations.
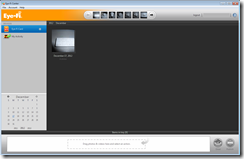
Eye-Fi Center
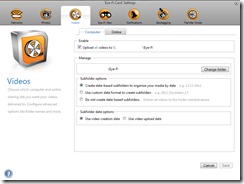
The Eye-Fi Center is the utility that comes with the Eye-Fi card when you buy it. For the most part it is a configuration utility that allows you to program the card, set default directories, and enable other paid services such as posting to photo services. It also runs in the background to receive the transmissions from the Eye-Fi card while it is connected. The card will transmit almost immediately if it is connected, or it will begin once you return and connect to your home network. I have mine configured to dump the pictures it takes into a WHS 2011 shared folder.
Summary
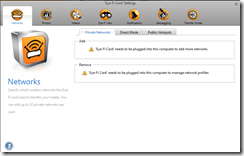
The migration to Hyper-V version 3 was painless. As before it installed easily however this time it has continued to run reliably. It has been running for nearly 3 weeks without an incident and without loss of communication. I used the USB4000IP to do the setup, however if you do not have one, you can set it up on another computer. To do it, run the configuration program a stand alone computer and using the USB adapter. When you are done, re-install the Eye-Fi Center on the VM. Since the Wi-Fi settings are stored in the card, moving the software to a VM will not impact the cards communication. You may be required to point to different folders once you install the software on a different computer depending on your configuration. It is an extra step but you only have to do it once unless you change your WI-Fi configuration. It nice to once again rely on this so that as I take pictures, I know that the images will be transferred to my server consistently.
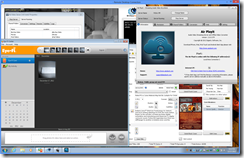
Everything Running on Windows 7 in a VM.
This is my progress so far for all the tasks I have running. As I stated in the earlier article, so far it has been a productive process. At times you have to jump through a bit of hoops such as when you have to use USB devices, but in the end it is a great way to save on your power bill and take better advantage of your existing hardware. Stay tuned for more as I have other tasks I will be porting over to VMs.


[…] Eye-Fi virtualized […]