One of the best ways to protect yourself when you are out with your laptop or other portable device that requires wireless access is to use a VPN. Though not necessarily the most user friendly product to setup, the benefits in security can be worth the trouble. There are many ways to setup a VPN using software only, but today I would like to cover OpenVPN that is built in to Untangle. Early versions of the Untangle router software included OpenVPN which allowed you access to your network, however starting with version 9.3, it includes a full tunnel option not previously available. In my opinion, this is a game changer for Untangle.
Background and Rationale
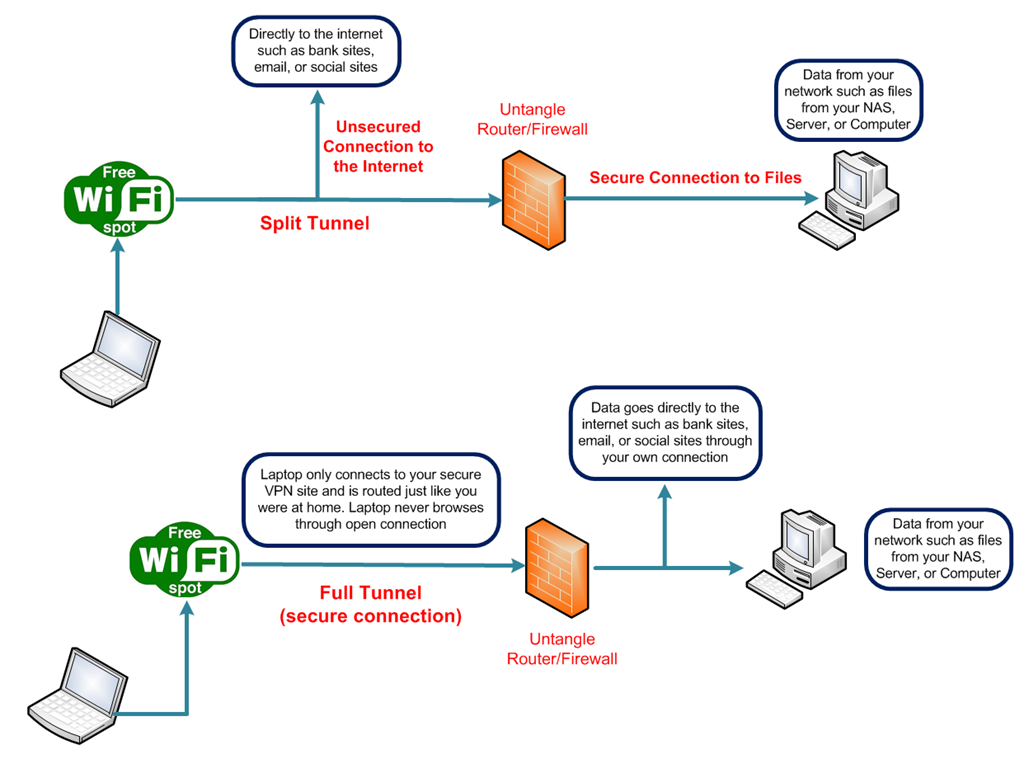
What is a full tunnel and why do I want it? A VPN can be configured in two basic ways, a split tunnel and a full tunnel. A split tunnel is only secure when accessing your network such as your files, NAS or computer. When you are browsing, you are completely unsecure and open to threats. A full tunnel routes everything to your router and is then sent to the internet from there. Another words, you will establish a secure connection to your router from your laptop, and your router will route the request to where you want to go. Why is that important? Say you are at a Starbucks or other public WiFi and you want to surf the internet. The entire time you are surfing, you are exposed even when going to safe sites. Granted, if you connect to say your bank, you will be accessing a secure connection, but everywhere else you are open for people to sniff what you are doing and where you are going in hopes of capturing personal information. When using a VPN tunnel, your connection from your laptop is made to your VPN and never leaves it. When your request to go to a web site, the request is made from your laptop, through the secure VPN connection, and your router will send that request to the site. The information is then routed back from the that site back to the router, and from the router back to your laptop. Just to be clear, only the connection is secure, and of course it does not stop you from going to malicious sites, but it does protect you from what happens when you are using a public hotspot (see the lower section for additional benefits of using a VPN).
What are the drawbacks? For starters, the main drawback is that depending of the hardware you have and the speed of your internet connection, it can be a bit slower. Since the traffic has to go to your router/firewall, get routed to the site, and then back to router then back to laptop, there could be some very minor delays. The faster the connection, the less the problem. The other drawback is that it is a bit more complicated to setup. Many solutions out there offer VPN but only a few offer full tunneling. In the end it is all about how important security is to you. For me, the choice is simple. Since I do occasionally have to use public hotspots as well as having access from work, a tunnel is the only way I can go. Lastly, setting up something like Untangle with OpenVPN can be a bit more expensive. The software is free, but you will need an old PC (or a low cost one such as an atom based pc) that will be dedicated to the task. I will not walk through the full setup of Untangle as there are many tutorials for that so lets walk through how easy it is to setup OpenVPN.
Hardware requirements
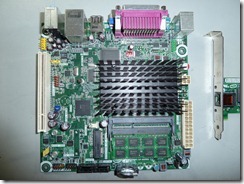
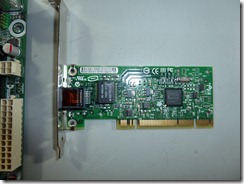
The hardware requirement for running untangle in its basic form are not very much. You can use an old PC or pick up an Atom board like the one that has been running in mine for almost two years along with at least one additional NIC card.
OpenVPN Setup
Assuming you have Untangle configured and working correctly, the process of setting up OpenVPN is pretty easy. There are two basic steps in setting up the software. First there is the Sever side (Untangle Box) and secondly the clients.
Server Setup
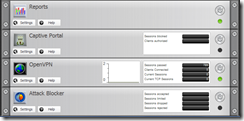
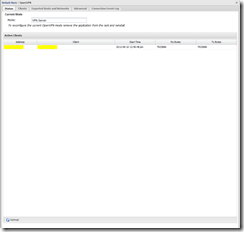
- Go into your Untangle Console and click on the “Settings” button. You will be prompted to setup as a Server or a Client. Select “Server”, answer the questions and once you have completed, you will end up with a screen like the one below.
Client Setup
To Setup the client, again go back to “Settings”, click on the “Clients” tab, and select “Add”. Create a new client name and click on “Done”. You should now see the client listed. The VIrtual address will show “unassigned until you click on “Apply”.
When you are done, it will look something like this.
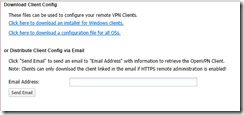
To install access to your PC or Mac, click on distribute and it will generate the client package. If you are a Windows user, click on the link for the Windows client and it will generate a “Setup” file for you to run on your client. If you use a MAC, click on the other link and refer to your MAC OS documentation on how to setup a VPN using the supplied key files.
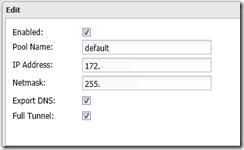
The last step you have to do is to set the tunneling option. Go back to the OpenVPN settings and click on the “Advanced” tab. You should see your default network listed. Click on “Edit” and “Enable” the tunneling option.
Testing
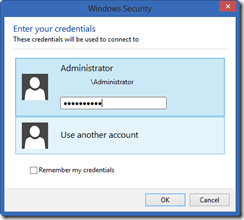
The easiest way to test and confirm that your tunneling is working is to go to a site called “Whatismyip.com”. Once the page loads, you will be prompted with your IP address given to you by your provider. Next, go to the local Starbucks (or anywhere that has WIFi outside your network) and do the same thing. The IP address will of course be different. Now connect your VPN by right clicking on the icon in your task tray that was created during the setup, and once again go back to the same site and you will see the same IP address that you saw at home indicating you are tunneled to you home network. You are now running a secure connection using the WiFi hotspot. In addition to more secure surfing, you can now run an RDP session to any computers on your network, access files from any computer on your network, as well as other devices such as printers and NAS units.
Usage
You may have to use the IP address to access these devices but everything will accessible as if you where on your network.
RDP any of your computers or servers from anywhere outside your network.
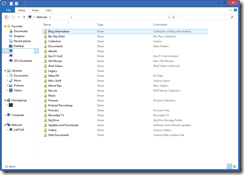
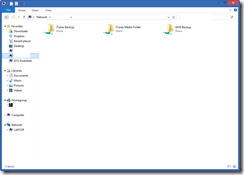
Access your local resources and see your files just as if you are inside your network. You can also open, copy or save to these locations.
Summary
I have always been impressed with Untangle for safety and security, but the addition of Full Tunneling has turned “impressed” into “Awesome”. This has increased the usefulness of Untangle for me by 10 fold. No longer do I think of a router/firewall in the same way, as it has added a ton of usefulness and functionality for me. The fact that I can not only increase security of my wireless access, but I now have full access to my files, as well as the ability to RDP from anywhere without the need for external programs like Mesh, or Logmein. If you where on the fence about setting up something like untangle for your home router, than now if you time. If you are already running it, than spend the five minutes it takes to setup and unleash the full power of the setup you already have.
Windows 8
I have been successful in running the client in Windows 8, however it did take a couple of attempts of installing and removing it for it to work correctly. I am certain that updates will be coming out in the near future but in the interim you should be able to run on Windows 7 or Windows 8.



[…] Mike talks about his UnTangle box upgrade as well as new features available in the latest release of… […]
[…] For a long time I have been running Untangle as my router/firewall and have been very pleased with it. Several weeks ago, the motherboard I had been using started giving out. It started to have issues with the internal NIC. I tried re-installing the software a couple of times but with no luck. It was pretty obvious that it was time to build a new box as I really wanted to run Untangle especially since they added the long awaited feature of full tunneling (see my article on tunneling). […]
Been following your threads on Untangle. As I mentioned, am currently running pfsense 2.0.1 on an atom build simply because that was my first plunge into a custom router build. Also I rely heavily on pfsense’s exceptional QoS. Are you running untangle lite, standard or premium? does the free/lite version include QoS? Is there anything missing from the lite feature or is it just support that comes with the paid version? I noticed paid options range from $400+ which I’m not opposed to paying, but would rather avoid as pfsense is free. Thanks!
[…] Whenever possible, setup and use a VPN. There are many ways to do this for free with products like Logmein Hamachi or OpenVPN that do not require any special hardware. Alternatively you can use a super router like pfSense or Untangle. (See my write up on Untangle) […]
Hi Miles, I think Mike has chosen to use the Lite, but if you were wanting to keep the QOS of PFsense run it along side Untagle in Bridge mode, do a search for super router
http://homeservershow.com/forums/index.php?/topic/1793-super-router/page__hl__%2Bsuper+%2Brouter
[…] me is OpenVPN. It allows me to “tunnel” and use the security of my own Internet connection (see my article for more information). In the past, I had wished I could get the same security on my IOS device when I was using […]
[…] https://thedocsworld.net/untangle-openvpn-with-full-tunneling/ […]
[…] I noticed the Full Tunnel option in Groups, and wondered what it's about, so I found this article: https://thedocsworld.net/untangle-ope…ull-tunneling/. It sounded intriguing, so I tried it and it works. Pretty neat. Now I can be as safe on the road […]