I am often asked about what tweaks I make to an SSD as well as what to do to extend the life and maximize the usability. Below is a step by step of what I do with my own systems. There are many theories and practices that are used and all have some merit. This is not to say that everyone else is wrong only that this is what I believe achieves the best practical results.
First off, a clean install of Window 7 is always recommended. “If” your cloning software is SSD aware and you have a fairly optimized setup, you can clone you drive however it is always best to do a clean install. The steps below should be done regardless of whether you did a clean install or used a cloning process. As apps often make use of variables, you should do this first before installing the balance of your software.
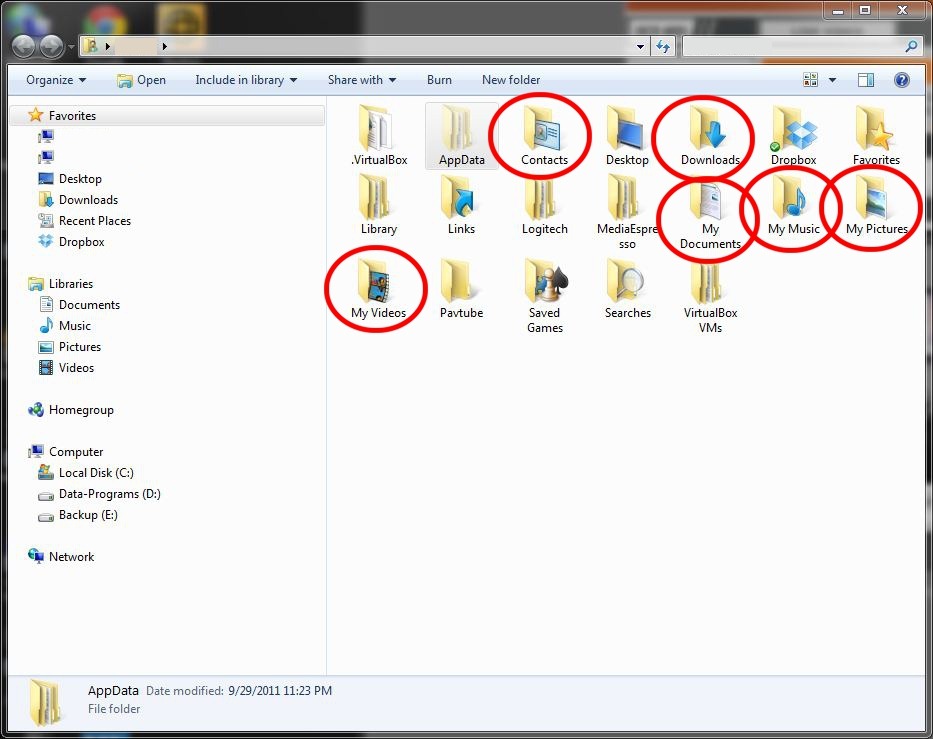
1. The first thing I do is to re-map the locations of the my user folders so that data and files are stored to the spindle drive instead of the SSD.
To get to this screen click on “Start”, then click on the user on the right to open the user properties. I have circled all the user folders that I change so repeat the steps below as necessary until all your folders have been moved.
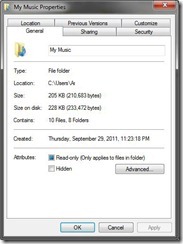
Right click on each folder (above) and select properties.
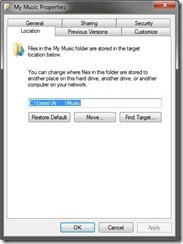
Click on the “LOCATION” tab and click on “MOVE”. Point to the folder and drive of choice. Repeat this for each user folder circled above.
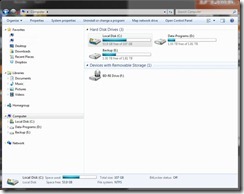
2. The next step is to disable “INDEXING”. Click on the “START” button and right click on the SSD drive (usually “C”). Select “PROPERTIES”.
Uncheck the lower box that says “Allow files on this drive to have contents indexed in addition to file properties” and click “OK”. If a message comes up click on ignore all. When you are done it should look like this.
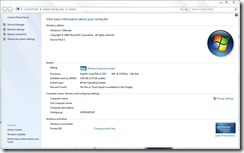
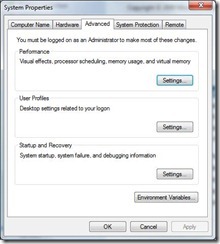
3. Next we are going to limit/disable the PageFile. Again click on “START”, and right click on “COMPUTER”. Select “PROPERTIES”. Click on “ADVANACED SYSTEM SETTINGS”.
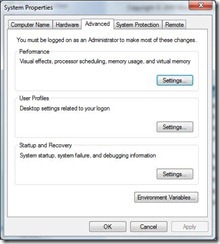
Under Performance in the “ADVANCED” tab, click on “SETTINGS”.
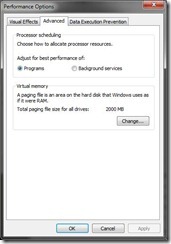
Click on the “ADVANCED” tab and click on “Change”.
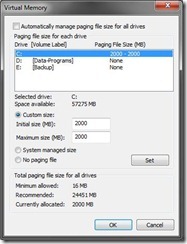
Select either “No Paging File” (only if you have 16 gigs) or click on custom size and select the “C” drive. In the “initial Size” as well as Maximum size and type the same value. For me 2 Gigs is what I set, so I set the INITIAL and MAXIMUM settings to 2000. There are many that say you should never disable however it has worked well for me if I have 16 Gigs of memory. Most of the time I set it to 2000. Try a fixed size like 2gigs and see how it performs.
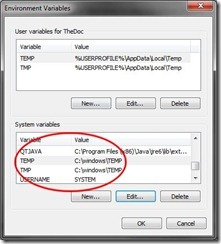
4. The next step is to move the temp folder locations. This can be critical for certain software that make heavy use of temp files such as Adobe products, photo/video editing, iTunes etc. Going back to the “Advanced Properties” tab, click on “ENVIORMENT VARIABLES”.,
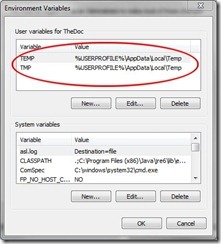
Part 1 “USER VARIABLES”: This next step must be done twice, once for each variable. Your screen should look something like this. You will be modifying each Variable.
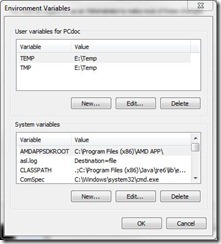
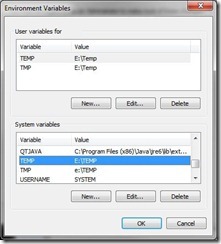
Click on each entry “TEMP, and TMP” and each time click on “Edit”. Do not change the name of the variable but change the location to where you where you want to move the temp files to. It should look something like the picture below. Do this for both TMP and TEMP.
Part 2 “SYSTEM VARIABLES”: Under system variables, scroll down till you see TMP and TEMP under “System Variables”. Again your will look like the screen below
Click on each entry “TEMP, and TMP” and each time click on “Edit”. Do not change the name of the variable but change the location to where you where you want to move the temp files to. It should look something like the picture below.
5. The final step is browser dependent. Based on the browser type, redirect you internet temp files to a spindle drive. Caching browser temp files on your SSD is not a good idea.
Summary
This is all I do for any SSD installation and have had great luck with this. Optionally, you can disable “System Restore” however I do not as it has saved my hide more than once. The bottom line is that based on the type of SSD you have, these tips help you “minimize” unnecessary writes which improves longevity as well as optimizes space consumption to help you get the most of your SSD.


[…] no add-on RAID adapters required, to simply accelerate the average user’s large C: drive, no SSD tuning guide […]
[…] I started off by following Mike Fouche’s (aka PCDOC) post about SSD setup and optimizing. […]
[…] I started off by following Mike Fouche’s (aka PCDOC) post about SSD setup and optimizing. […]
[…] SSD Setup and Optimizing […]