If you are like many and are jumping on the SkyDrive band wagon you might find yourself having to install it on many systems in your house. The issue soon becomes with many of these services is that you end up installing on too many devices. Since I have many computers on my internal network, I decided that rather than installing it on each computer, I would install it on Windows Home Server and make it accessible for all the systems. The one issue I ran into is SkyDrive will not work if you are not logged in. Below are the instructions on how to get it to run as a service with the right parameters. I set this up not only to work as a background task, but configured it so you can accessed it from anywhere on any system in your network.
Part 1 – Creating your Share and installing SkyDrive
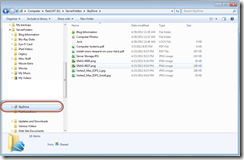
- Go into your Dashboard and create a new “SHARE” called SkyDrive (or whatever you want to call it) and give access to any or all users you would like to use SkyDrive.
- RDP into your server and Install SkyDrive on your Server. Note you may get security prompts. If you do, click “ADD” and add those sites to the approved safe list and continue the installation.
- IMPORTANT! When you get to this prompt, click “Change” and point to “Share” (local disk not through the network) and click OK. This will set the default SkyDrive folder to the share, giving everyone who has access to that share on any of your home network computers the ability to use it without it being installed on each computer.
Part 2 – Setting it up as a service
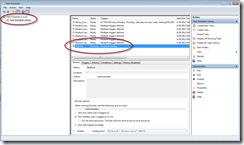
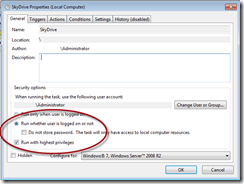
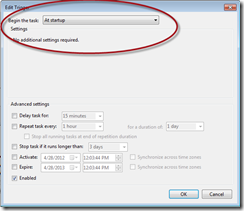
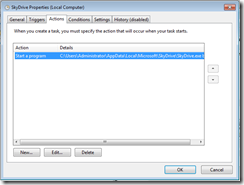
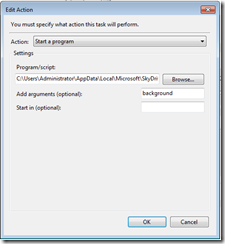
- RDP into your server and launch the “Task Scheduler”. Next create a new task and set each of the settings as defined in the snapshots below.
When you are done. Reboot your server and test it by going to one of your client computers and copying files to the Share you created. If everything was done correctly, your files should be available online as well as your portable devices. If not, check your settings again in the task that you created. Enjoy!


