So why a server rack in the home? For me the answer was two fold. The first and most important reason was consolidation. Though I have not converted all my systems to rack mounted cases yet, I wanted to all the equipment I did have to fit into one nice tidy package. The second reason as you might have guessed was the geek side of me just had to try it and see the practicality of this for home use. I needed to go through the experience of a rack build at home and see what happens with noise, heat, vibration, flexibility, and of course the cost.
Before we get into the build, let me first explain that the rack and the top shelf (along with other things I ended up not using) were taken on trade from my BYOB partner Mike Martis (you can find his original write up here). The lower shelf, blank space panels, power distribution, cable management I purchased separately.
Part 1
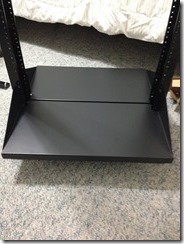
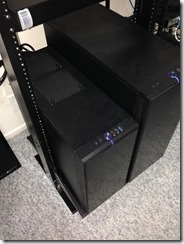
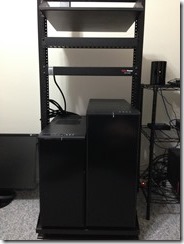
The first part of this was to select a lower shelf that would handle the weight of my servers which are housed in two Fractal Design cases (which double as boat anchors). The larger server weights in at roughly 70-80 lbs and the other is about 60+ lbs so I needed something fairly beefy that would stick out to far. I found this shelf at Amazon that came as a pair, each being 10 inches in depth and had a rated capacity of 200lbs which was perfect for the Fractal behemoths.
Part 2
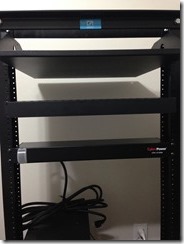
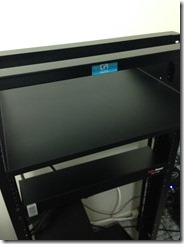
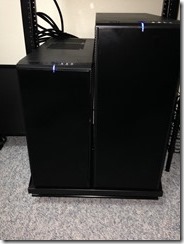
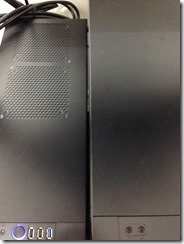
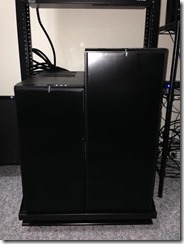
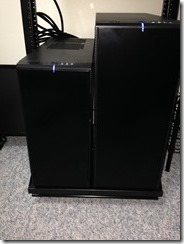
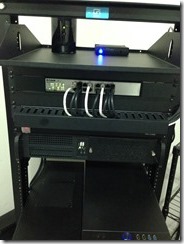
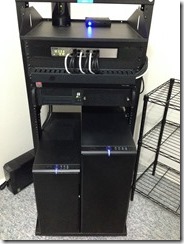
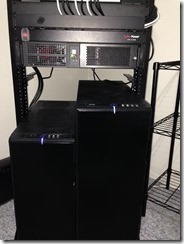
This is where things got a bit interesting. If you look closely, you will see that these two Fractal siblings barely fit in the rack clearance. There is less than a 1/4 inch left over after these when set into the rack. Had I had two of the Fractal XL’s, they would not have fit. I got really lucky and probably should have measured more carefully first. After the servers where put onto the shelves, I went through and added my rack mounted VM server, power panel, switch, and cable management and top shelf.
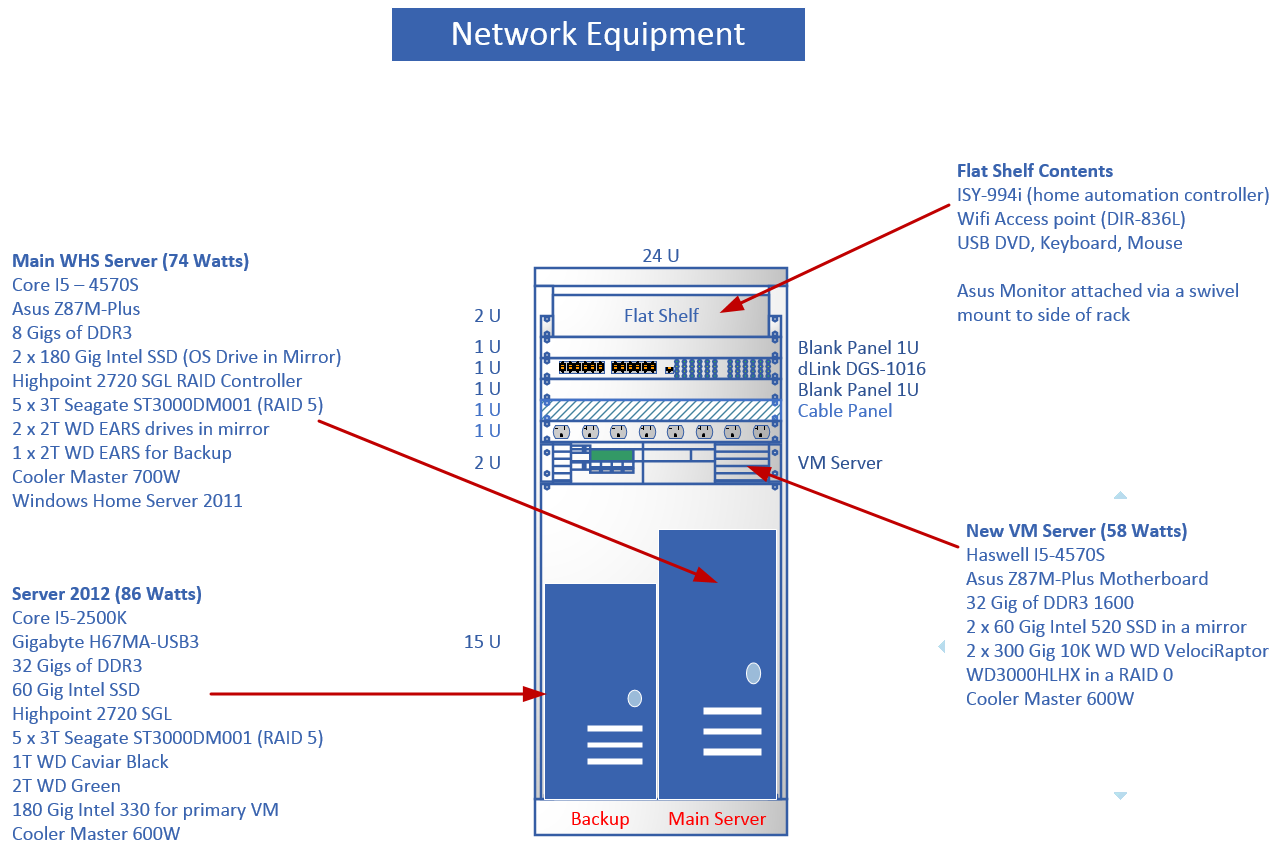
The Final Configuration (for now…)
Summary
Overall this was a fun project and I am really liking the results. It ended up being much more work than I expected. Between experimenting on the best positioning, painting brackets (I am picky that way), and messing around with a rack mounted case I bought, it has taken me several weeks to complete the project working here and there as time permitted. As I will detail in an another post, I used a 2U case for my VM server which turned out to be quite a bit of work from having to paint it, changing out the fans, and just a generally being hard to work with. Otherwise, besides taking up a bunch of time, this was really fun. I did find the price of rack accessories to be way overpriced as these items are typically aimed at businesses not the consumer. The end result is quite worthwhile and if you have done this before, I am sure you will plan it out and know exactly what you will need in advance so things will go smoother. I did not think I would, but at the end of this project I find myself liking and recommending this approach though it will be a bit tougher on the budget.
Cost
Here is the cost breakdown “without” the rack mounted case, the rack itself, the top shelf, and of course the servers. This is just what I added after getting the rack so you actual cost may vary.
| Items Description | Price |
| Rack (trade) | 0.00 |
| Top Rack Shelf | 0.00 |
| Belkin Cable Management Panel | 16.65 |
| Vertical Cable Ring (3x) | 25.29 |
| Odyssey 1U Blank (2x) | 18.98 |
| Odyssey 2U Blank | 11.99 |
| TRENDnet Rack mount kit (fits my dLink Switches) | 11.94 |
| Cantilever Server Shelf Rack Mount 19″ 2U Black 2 piece set Center Weighted | 37.95 |
| Tripp Lite Cable Management | 42.24 |
| CyberPower Power Strip | 37.99 |
| Total | 203.03 |


[…] I referred to in my article on my home rack server project, I bought a 2U case to house my VM server. I already had a smaller rack mount case, however it […]
[…] Mike’s Rack Project […]