It is inevitable that at some point you will loose a hard drive. Recently I upgraded my servers to 3T Seagate drives so that I could get the same storage with less drives, faster performance, and more room for expansion. As luck would have it, one of the new drives died after only a couple of months. I have these drives in a RAID 5 configuration and keep a spare on the shelf at all times. Anyone reading my posts will know that I am fan of the Highpoint cards mainly for cost/performance, and I setup the card with only the default settings except for the “auto rebuild” feature which I enable (off by default), and the priority setting to the highest. I also setup the email client on the card so that I get email notifications when something goes wrong. Below I detail the relatively painless process of getting your server back up and running with the drive replaced.
Recovery Process
This is the email I received from the card stating there was a drive failure.
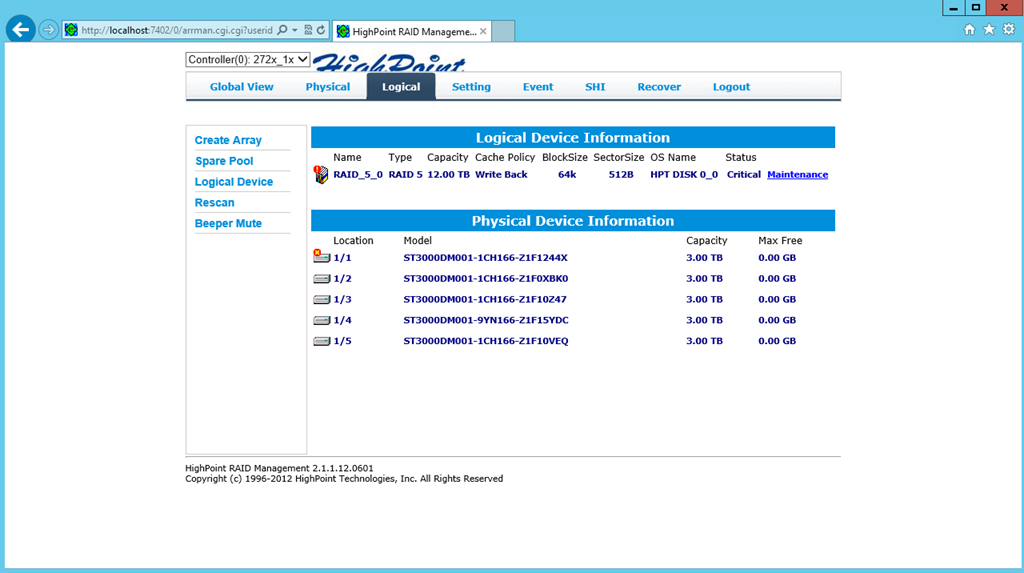
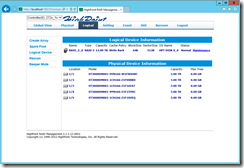
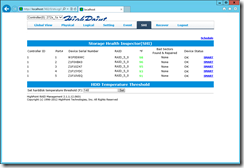
I logged into the server to verify the issue. The software does a great job at defining which drive is bad and since the cables are pre-labeled, it was quick to pull out the defective drive. A quick look at the event log also confirmed the problem. I powered down the system, and slid out the bad drive. This took about 10-15 minutes including carrying the headless server to a location where I have access to a monitor. Since this is in Fractal Design case, drive removal and replacement is very easy and quick. (See the build article for pictures of the case)
Once I had the drive replaced, I attached the monitor and powered up the computer. On most highpoint cards, if there has been a drive that failed, replaced, or other issue, the system will pause at the highpoint BIOS screen, hence the need for the attached monitor. Once into the screen, I simply hit escape to skip past this screen and boot into the OS (I always use a different drive for the OS and NEVER put it on the RAID) so I can watch things from the Web Interface. As I had set the “auto rebuild” the process had already started and the RAID array was already rebuilding without any intervention on my part. About 6 hours later it was complete and all is well, no strain, no pain, no problems.
Summary
No one wants failing drives, however in the past 3+ years of running RAID 5 arrays, the three drive failures I have had have been short of painless, almost pleasurable. It may seem like many drive failures but considering I have more than 30 drives at any one time and have purchased well over a hundred of them in this 3 year period, I think the failure rate overall is not bad. That said, it is always better to not have failures but when you can recover in less than 30 minutes, suffer no down time, and no data loss, I think I would consider this a success and be thankful. In the end, I really believe in a good RAID 5 configuration is the only way to go as the recovery is virtually painless. With a bit of prep work and a spare drive, you can be operational in a short time, not to mention getting the most from your storage with outstanding performance. In closing, remember that RAID is not a backup and is not a substitute for it, but as a primary source, it is awesome way to go.



Over a hundred drives in 3 years, your tech budget must be limitless given all the other stuff you buy. Man I am jealous.
I wish it was, but I sell some of off when I upgrade. We all have a weakness and mine is PC hardware.
[…] Drives fail, recovery shouldn’t Mike’s recent oh noes […]