This is a far departure from what I usually do or write about, but since the outcome was so good I wanted to share it. Acoustic panels are certainly taking me into new territory and it has been a learning experience in sound, acoustics, and construction.
My original motivation was to improve the sound quality of my office for both audio playback as well as recording. As I have been planning to start doing videos again as well as the occasional podcast, I wanted to reduce the reverb and improve the sound in the room as much as possible. My office acoustics have allot going against it as it has a hard laminate floor and little to no wall/window dressings that would contribute to sound absorption. Because of equipment in the office, I did not want to put a throw rug or any other carpeting on the floor.
After doing some research, I came to the conclusion that my best option was to get some good acoustic panels in the office. At first I was going to just buy them but found the cost was around $70 each. As I was not sure how many I needed or whether it would even work, I decided to try my luck at building them. As I tend to be picky on how things look, I wanted the outcome to not only work, but it had to look good as well.
Research and Planning
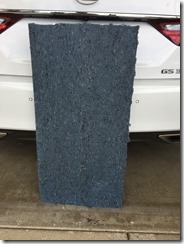
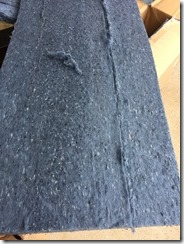
One of the major components of these type of acoustic panels is the insulation material. If you search the internet you will find many different materials that are recommended such as Roxul or Corning 703. Every material has pros and cons, however, I was determined to find something that was safer and easier to work with than fiberglass. Even the Roxul material which appears to be safer than fiberglass has a list of safety concerns which are similar to fiberglass. I ended up using a cotton material from ATS Acoustics which is constructed from all cotton material. It is a bit more expensive but it has very good sound absorbing characteristics and is much safer to work with. In looking at their site, I found they also have a great selection of acoustic fabrics to cover the front of the panels if you don’t feel like taking a trip to the local fabric store.
Basic steps
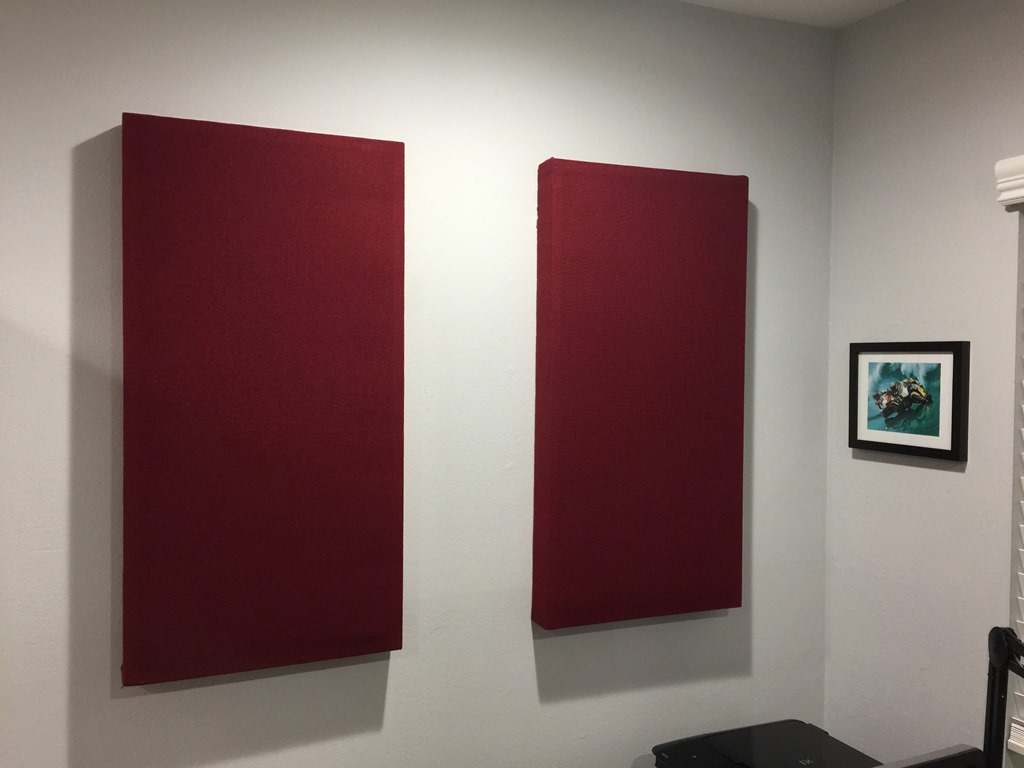
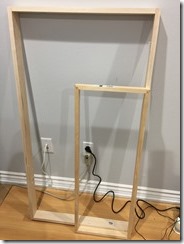
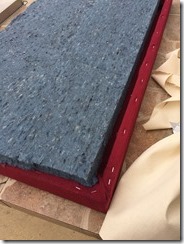
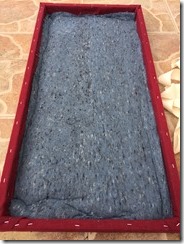
- The first step is to build a frame. You can construct the frame any way you are comfortable with as it will get covered. I used 2.5 inch (W) wood pieces and experimented with different size frames. The 2’x4’ was too big and the 1’x30” was too small. I ended up with 18” x 36” (outer dimensions) as the ideal size from the perspective of wall coverage and visual appeal. I figured that I could add more panels should the sound not turn out the way I wanted. Once I had the frames built, I covered the front using the material I bought from ATS Acoustics. I wrapped the material around the frame and stapled it to the inside of the frame to secure it.
- Next I cut the cotton batts insulation material using a razor knife and scissors to the right size and inserted it into the frame. I cut about a 1/2 inch larger in both directions so it would be very snug in the frame.
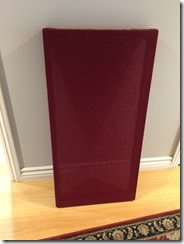
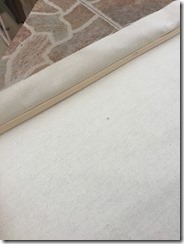
- Once the insulation was inserted I covered the inside with a canvas material to prevent lint/dust as well as to hold the insulation in place (probably an overkill and not needed). I tacked it in place with some thin wood strips to give it a clean look and provide better support (also an overkill and not needed).
- Lastly I installed some heavy duty D-Ring picture frame hangers and some Walldogs to mount the panels on the dry wall.
The Final product
Front Panels
Rear Panels
Summary
As this was my first endeavor into acoustic panels, I was not sure what to expect. As these types of projects involve so many variables and the results can be very subjective, I can’t offer any quantitative data on my result other than to say I was shocked. The difference in the sound quality when playing audio in this room was amazing. I use some decent Audio Engine 2+ speakers on my desktop with a complimentary subwoofer. They have always sounded good but when I played them back after the installation of the panels I could not believe it was the same speakers. It took awhile to sink in that this was the same audio setup. I truly expected the result to be more subtle than it was. Now that I think back about what has happened and given the lousy acoustics of the room, it makes perfect sense that the result was this drastic. I am sure that if I had the average office with carpeting or a throw rug, and some wall coverings, the result would have been much more subtle and the improvement minimal. That said, I am now on a quest to put in additional smaller panels in the office and working my way to the living room where my home theater is located. Don’t under estimate the need for good sound damping in any playback/recording environment, and if your room is anything like mine, definitely look into your options on how to deaden sound.
As this was my first time and I tend overkill most of what I do, I bought a higher grade of wood, added a canvas backing, and used wood trim on the inside all of which drove the cost up. Assuming you have all the tools you need, you should be able to build these panels for about $40 each depending on the cover and insulation material you select. If you use less expensive materials and look for deals, you could even get the price down much lower than that.

